
Link
Payment link
- You provide
- A secure HTTPS URL from a provider account you control.
- Use for
- Opening a checkout or payment page.
Open the invoice editor, add the seller and client, set the invoice number and dates, add line items and tax, choose payment instructions, review the finished document, and export it. This page explains how to use InvoiceCraftly; for what each field is for, see what should an invoice include. Broader invoice topics live in the invoice guides.
You do not need an account to create and export ordinary InvoiceCraftly documents; optional sign-in and Personal Cloud backup are separate choices. See how no-signup invoice creation works, including saving, exports, and backups.
Reviewed: 29 September 2026 · Public content updated: 29 September 2026
If you need a quote, estimate, proforma invoice, receipt, or credit note instead, compare the document types before you start.
Prefer to describe the work instead of filling in a blank form? Create an invoice from text.
InvoiceCraftly handles the layout while you supply the business, billing, item, tax, payment, and branding details.
Follow the workflow in order or open the task you are working on.
Open the editor with Invoice selected. In the From section, add the seller or business name, address, contact details, and any registration or tax identifier you need to show. InvoiceCraftly gives you editable fields; you remain responsible for the information required for your transaction.
If you meant to create a different billing document, use Document types to compare quote, estimate, proforma invoice, receipt, and credit note before switching the editor.
Review the invoice number, issue date, and due date before you continue. Use a numbering approach that fits your records and local requirements. For a formatting preview, use the invoice number generator; for country-specific rules, use the relevant guide from Invoice guides.
In Bill To, enter the client's name, address, and any customer tax or reference information that belongs on the document. If the client gave you a purchase order number or billing reference, keep it visible so their accounts-payable team can match the invoice to the work.
Add each product, service, or billable item as its own line item. Enter a clear description, quantity, unit price, and tax rate when applicable. InvoiceCraftly updates the subtotal, tax breakdown, adjustments, and total as you edit.
Check the calculated subtotal and tax, then add an optional discount or fee only when it belongs on the invoice. Confirm that the currency, rates, and final amount match the agreement and the treatment that applies to the transaction.
Choose the payment term used in your agreement and make the due date visible. If you need to turn an issue date and a calendar-day term into a date, use the invoice due date calculator.
Add readable bank details or your own HTTPS payment link when appropriate. InvoiceCraftly does not create the provider account, process the payment, confirm settlement, or track the payment.
If you add a QR, keep the readable payment information beside it and review the destination before sending. For the full payment-QR explanation, use the canonical QR code for invoice payments guide.
For a non-payment destination, use the static QR generator. For reviewed EUR bank-transfer details, use the SEPA payment QR generator.
When you enable a QR mode, review the readable destination or transfer details before sending. Banking-app support varies. CSV data exports do not contain a rendered QR image.
Choose the invoice design that fits your business, upload your logo, and set the accent colour. Review the preview after branding changes so the business details, totals, and payment information remain easy to read. For more branding examples, see invoice generator with logo.
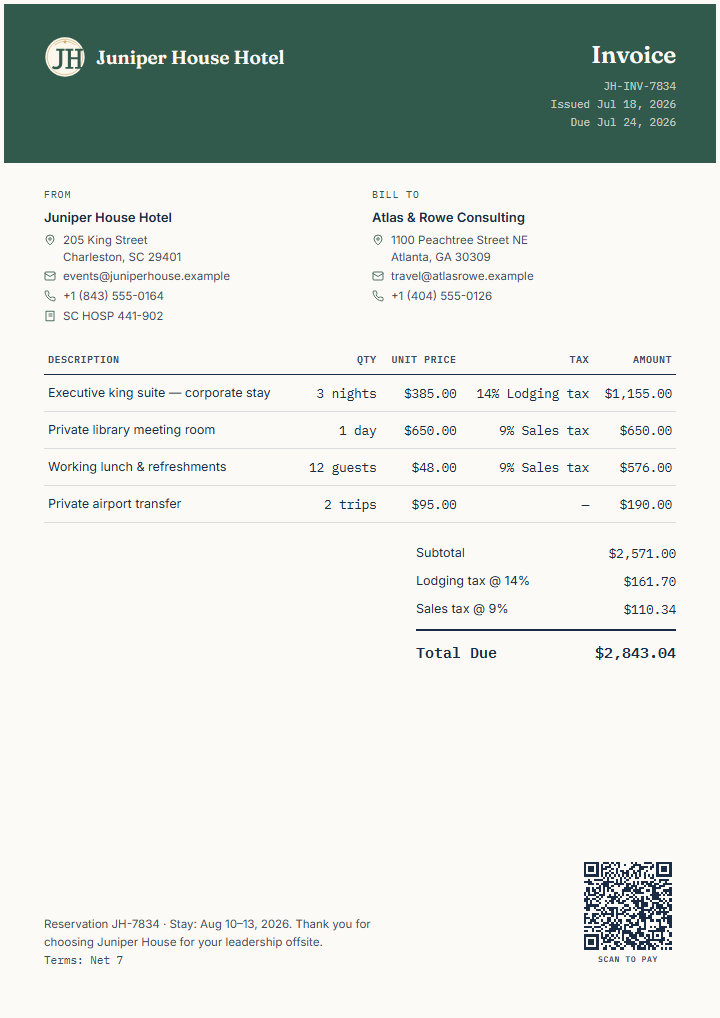
Read the live preview from top to bottom. Check the seller and client, number and dates, line items, tax, total due, payment details, logo, and optional QR. Then export the format you need: PDF for a page-oriented document, PNG for an image, SVG for a scalable vector file, or CSV when you need the supported structured invoice data export.
A PDF invoice is not automatically a structured e-invoice. If a customer, authority, or workflow requires structured data or a specific delivery network, check that requirement separately instead of assuming the PDF is equivalent.
Use the invoice readiness checklist for a reusable final review.
Recent documents stay available in this browser so you can reopen, duplicate, or continue them. Use More → Back up workspace when you want a restorable local JSON copy.
Optional Personal Cloud backup is a separate, user-chosen operation; signing in alone does not upload your invoice. If you use Personal Cloud, backup and restore are manual choices and are not continuous synchronization.
Important: clearing browser data can remove local documents. Keep a backup of work you cannot afford to lose.
Documents are created and kept in your browser and are not uploaded to InvoiceCraftly unless you deliberately use a feature like Personal Cloud backup. Read the complete privacy explanation
No. You can create and export ordinary InvoiceCraftly documents without signing up. Optional sign-in and Personal Cloud backup are separate choices.
Use this page for the editor steps, then read the payment QR guide for the dedicated explanation and examples.
Use the number field and number-format tool for the document itself, then check the relevant country guide because numbering requirements are not universal.
No. A PDF is a page-oriented document. A structured e-invoice can require specific machine-readable data, formats, or delivery channels depending on the recipient and jurisdiction.
Open a blank invoice, add your details, and review the live preview before exporting.